There are many different kinds of yoga, each with its own benefits. Among the various styles, the one that is best to practice right before bed—to help you get a good night’s sleep—is restorative yoga.
What makes restorative yoga so powerful in setting the stage for deep and nourishing sleep? Like any form of yoga, it supports mindfulness of body and breath; and enhances overall health and wellness.
But restorative yoga also deeply calms the central nervous system; nourishes and heals the joints; relieves chronic pain; supports good digestion, and balances the endocrine system.
All of these together contribute to the ability of a restorative yoga sequence to improve the quality of our sleep.

Restorative Yoga To Nourish & Enhance Sleep
This particular sequence—designed specifically to help you sleep better—can easily be completed in 10-15 minutes. Each of the poses is fairly easy to get into, and we’ve included variations to accommodate a variety of physical circumstances.
While doing the poses in the suggested sequence is beneficial—it’s also okay to choose just one or two of them, if time is short or for some other reason you’re unable to complete all five.
Remember to approach the practice with an attitude of curiosity and kindness: be gentle and relaxed in your movements, as the mind settles into focused contemplation of physical sensation.
1. Unifying Body & Breath
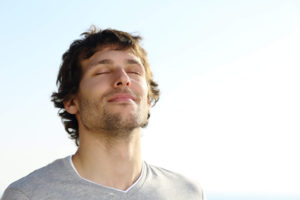
Begin by standing upright, with your feet hip distance apart. Or you can sit on the edge of a straight-backed chair.
In either case, let your arms hang down at your sides. Smile gently, and say “ahh” out loud or silently, to fully relax your jaw, face, and neck.
Now, coordinate your breathing cycle with the movement of your body in this way: As you inhale, gently swing your arms out to the side—rotating the palms upward and bringing them together overhead. Then, as you exhale, bring your arms back down to your sides.
Repeat this movement ten to fifteen times, seamlessly integrating the movement of your breath with the movement of your arms: Inhale as the arms lift; exhale as they return to your sides.
Variation: If swinging your arms all the way overhead is not possible, float them upward to the level of your chest, waist, or hips with the inhale—them back to your sides with the exhale.
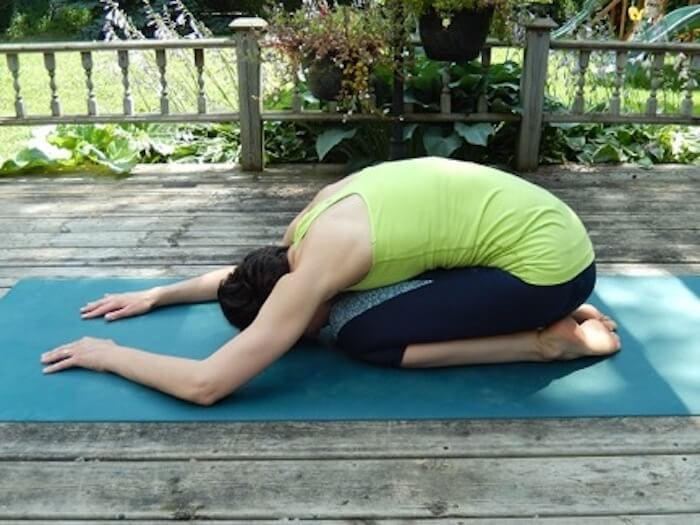
2. Child’s Pose
To come into Child’s Pose (Sanskrit: Balasana) kneel down on the floor, then come onto all fours. Touch your big toes together, sit back onto your heels, and then drop your head and torso forward—all the way onto the floor. Arms extended or stretched down alongside your torso (see the picture).
Make sure your forehead is resting on something soft: a carpeted floor, a yoga bolster, a pillow, or a folded blanket. Don’t worry if your hips don’t come all the way onto your heels—just let them drop as far down as is comfortable.
Remain here for two or three minutes, relaxing deeply and feeling the movement of breath in your chest and belly.
Variation: If kneeling on the floor is not possible, sit instead on a straight-backed chair in front of a desk or table. Place a pillow or folded blanket on the desk/table. Lean forward and rest your arms and forehead on the tabletop or desktop, with your forehead once again supported by the soft pillow or blanket (or by your crossed arms).

3. Reclining Hands-Interlaced-Behind-Head
This pose comes from the Kaiut Yoga tradition, which specializes in restorative and therapeutic yoga sequences.
To begin, lie down on the floor on your back, with your knees hinged and the soles of your feet flat on the floor, about hip-width apart.
Now interlace your fingers behind your head—near the base of the skull—and let your elbows drop toward or all the way onto the floor. Relax in this position for two or three minutes, feeling the movement of the breath in the upper back and chest area.
To come out of the pose, release your hands, roll over onto your side, then gently press to sitting.
Variation: With your hands interlaced behind your head, turn your head gently to one side, relaxing deeply for a minute or so. Bring your head back to the center, and pause for a couple of breaths. And then turn it to the other side, relaxing deeply for another minute. Then return to the center.
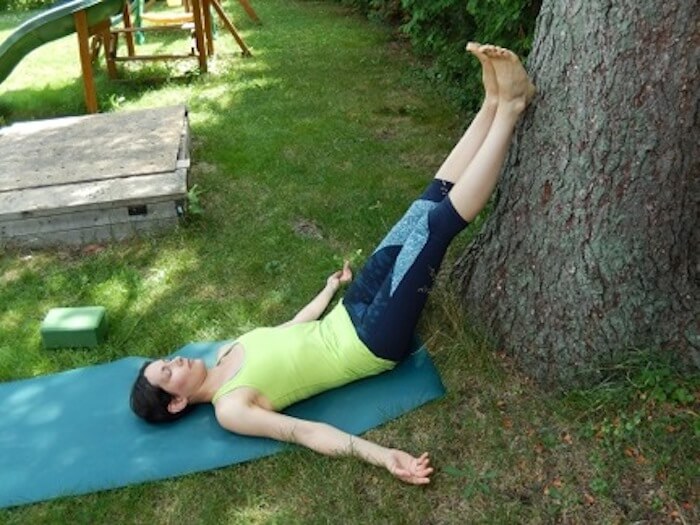
4. Legs-Up-the-Wall Pose
The Legs-Up-the-Wall Pose (aka Viparita Karani) is a wonderfully therapeutic yoga pose that can beneficially be practiced on its own—as well as part of a sequence such as this.
To get into this position, sit near a wall and then gently swing your legs up the wall or a tree:), as you let your torso drop onto the floor.
Don’t worry if your pelvis isn’t snug against the wall. It’s fine—and in many cases preferable—to have your hips 6-8 inches away from the wall, with your legs at more of an angle.
Rest your arms along your sides, or fold your hands on your belly, or interlace your fingers at the base of your skull (as in the previous pose)—whichever feels best to you. Stay in this position for four or five minutes (or longer if you’d like).
When you’re ready to come out of the pose, slide your feet down the wall, and then roll gently onto your side. Pause for a few breaths, and then gently press up to sitting.
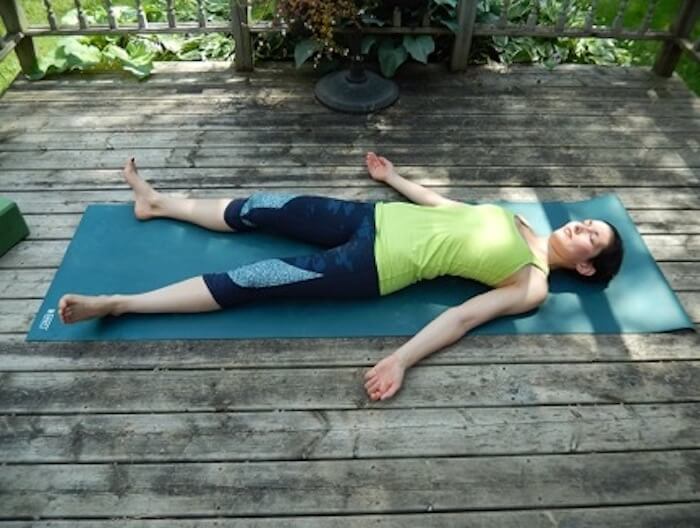
5. Savasana: Corpse Pose
In Ayurveda, summer is known as Pitta season. Those people whose primary constitution is Pitta will be the ones who will most strongly experience the effects of the season, resulting in feeling sluggish…
The final pose of this restorative yoga sequence is Corpse Pose (Sanskrit: Savasana). Because Savasana supports deep relaxation of both the body and the mind, it is wonderful to do right as you’re drifting off to sleep—so you can also do the pose right in your bed, or on the floor nearby.
To begin, lie down on your back with your legs extended and your arms resting near your sides.
Variation: If extending your legs fully isn’t comfortable, you can slide a pillow or folded blanket underneath your knees—which will help the hips and lower back feel more relaxed.
Now, take a few deep, slow breaths, saying “ahh” as you exhale. Close your eyes gently, and allow your entire body to relax completely, from head to toe.
Feel the movements of the breath—like ocean waves, rising and falling. Feel your body naturally relaxing, more and more deeply.
After five or ten minutes, move to your bed (if you’re not already there) and continue relaxing—allowing the body to melt into the support of the mattress, the support of the breath, the support of the ground of awareness.
Sweet dreams!
YOU MAY ALSO LIKE:
HOW RESTORATIVE YOGA CAN ENHANCE CHIROPRACTIC CARE
If your strategy for resolving back (or other joint) pain includes frequent visits to a chiropractor, then yoga practice (of a…
HOW TO USE ESSENTIAL OILS
According to the National Association for Holistic Aromatherapy (NAHA) aromatherapy can assist in balancing our physical, emotional, mental and spiritual health….
6 OF THE MOST COMMON AYURVEDIC HERBS
Ayurveda is an ancient Indian medical tradition -but it is so much more than that. The word Ayurveda means “the science…
WHICH MILK ALTERNATIVE SHOULD YOU DRINK?
Drinking cow’s milk may not be possible if you are vegetarian, have allergies, or have lactose intolerance. Additionally, processed cow’s milk…
GINGER: MIRACLE ROOT THAT YOU NEED IN YOUR DIET
Everyone’s heard of ginger before. It’s a common cooking ingredient, a great way to add flavor to meals, but ginger (also…
FINDING BALANCE IN AYURVEDA
The ancient practice of Ayurveda is about more than medicine and more than lifestyle guidance. It’s about finding a natural balance…

